How to Change the Ephesoft Logo
This page contains steps for how to replace the Ephesoft logo within Ephesoft Transact with your own company logo. These instructions are intended for partners and customers who are looking to white-label Transact.
Prerequisites
- You will need administrator permissions.
- You will need a basic understanding of HTML and CSS.
The instructions for this procedure vary by version:
Ephesoft Transact 2019.1 and Above
To upload your customized logo, perform the following steps:
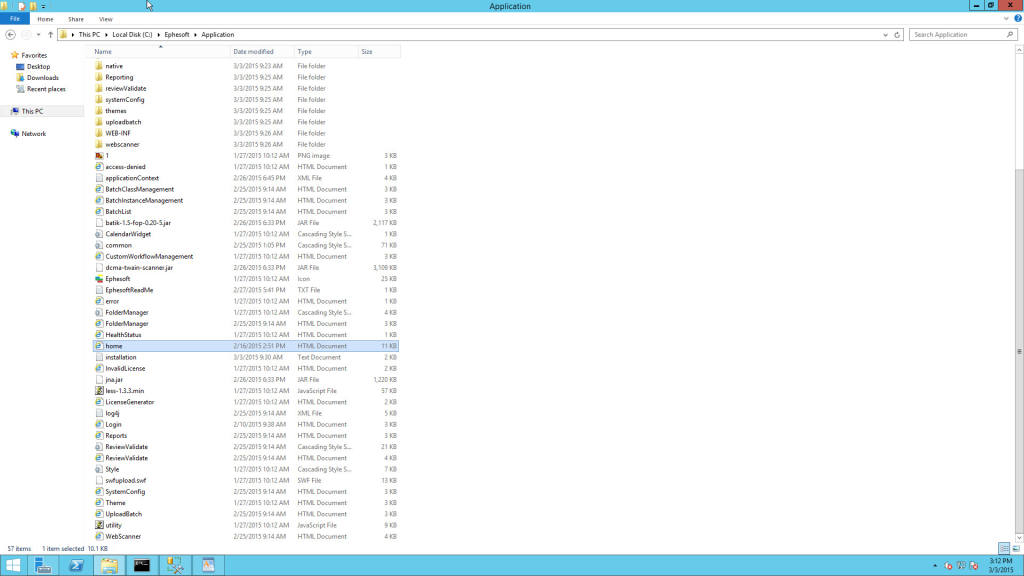
- Navigate to the images folder at [Ephesoft_Directory]\Application\custom\images.
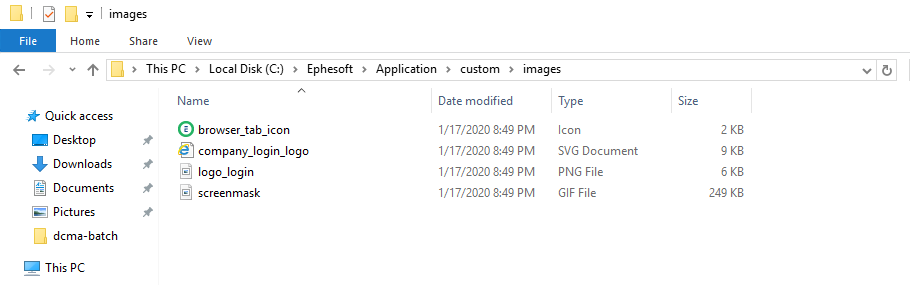
- Add or copy your image file to the images folder. The filename should be unique. Supported file types are:
- SVG
- PNG
Edit the Logo File Paths
After you have uploaded the new logo image, you will need to change the file path in the affected files to direct to the new image.
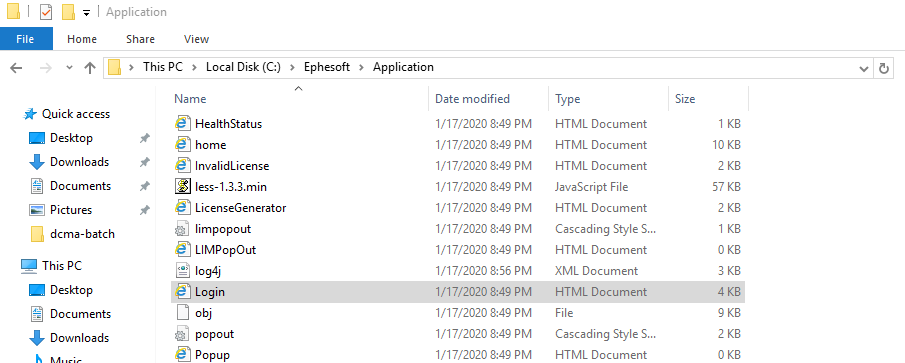
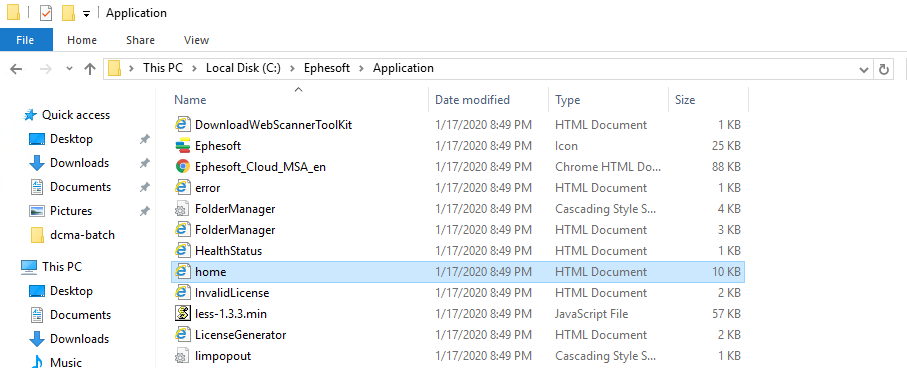
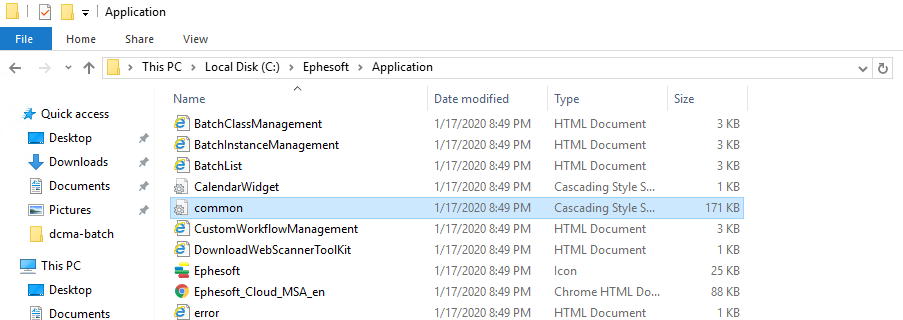
The following files are affected, which are located in [Ephesoft_Directory]\Application:
Note: You do not need to restart Transact after making changes to the above files. To view your changes, refresh your browser.
Edit the Login.html File
The Login.html changes the logo on the Login screen.
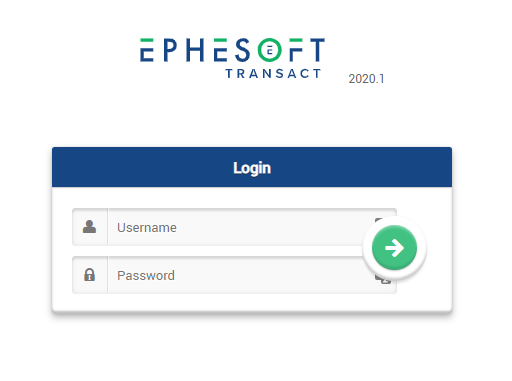
By default, the file will point to the Ephesoft logo. To point to the new file, edit the img src attribute.
- Open the Login.html file, at [Ephesoft_Directory]\Application.
- Search for “company_login_logo.svg”.

- Duplicate the “img src” line.

- Comment out the original line.

- Edit the new line to point to the new image file by replacing the “company_login_logo.svg” with the name of the new image file.

- Adjust the height and width of the img src attribute as needed.
- Save and close the file.
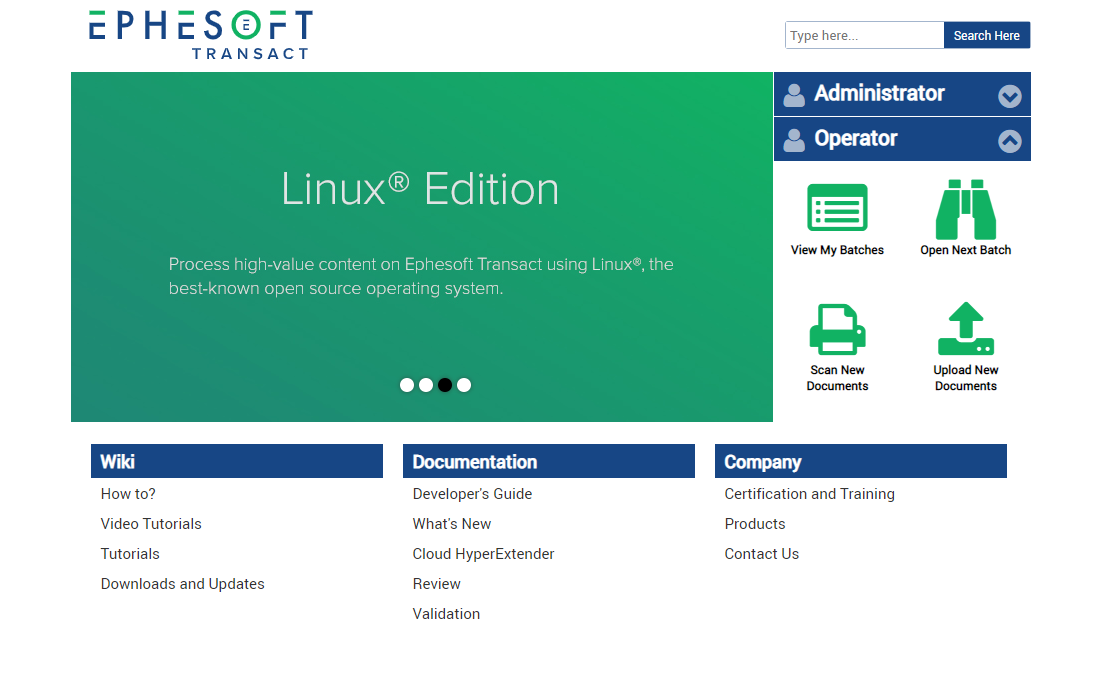
Edit the home.html File
The home.html changes the logo on the Home screen.
- Open the home.html file, at [Ephesoft_Directory]\Application.
- Repeat steps 2-7 from the Login.html section above.
Note: The img src attribute in the home.html file does not contain default height or width tags. Depending on the size and dimensions of your new file, you may need to add and customize these tags.

Edit the common.css File
The common.css changes the logo on each Administrator and Operator page within Transact.
- Open the common.css file, located at [Ephesoft_Directory]\Application.
- Search for “company_login_logo”.
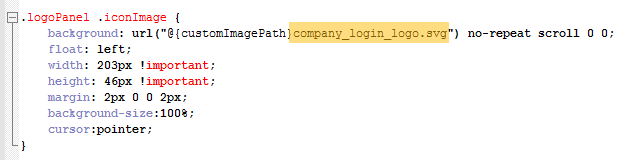
- Duplicate the .logoPanel .iconImage element and its properties.
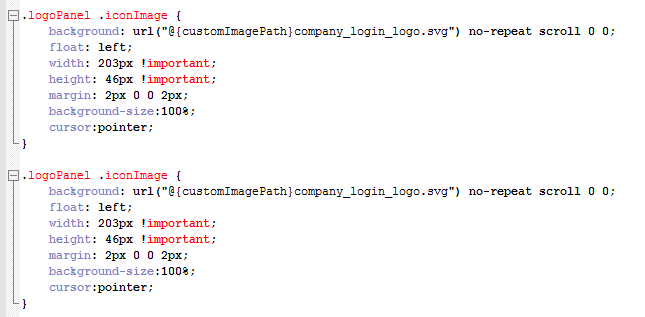
- Comment out the original element.
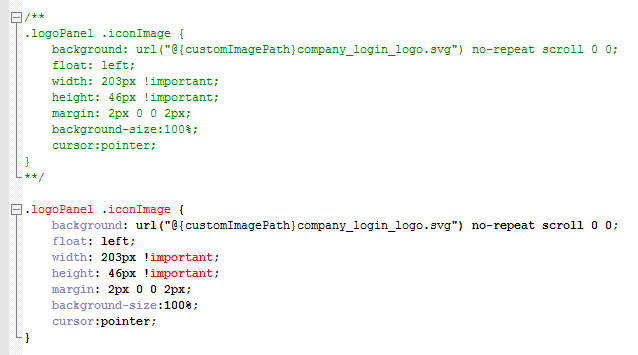
- Edit the new element to point to the new image file by replacing the “company_login_logo.svg” with the name of the new image file.
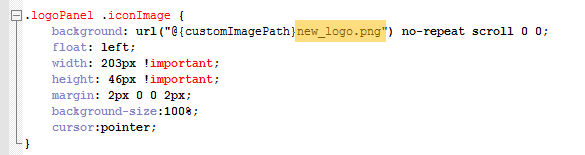
- Adjust the width and height properties as needed.
- Save and close the file.
Ephesoft Transact 4.0.0.0 to 4.5.0.0
To upload your customized logo, add or copy your image file to the following folders.
- [Ephesoft_Directory]\Application\images
- [Ephesoft_Directory]\Application\themes\default_theme\images
Note: The filename should be unique. Supported file types are:
- SVG
- PNG
Edit the Logo File Paths
After you have uploaded the new logo image, you will need to change the file path in the affected files to direct to the new image.
The following files are affected, which are located in [Ephesoft_Directory]\Application:
Note: You do not need to restart Transact after making changes to the above files. To view your changes, refresh your browser.
Edit the home.html
- Open the home.html file, at [Ephesoft_Directory]\Application.
- Search for “logo_login.svg”.
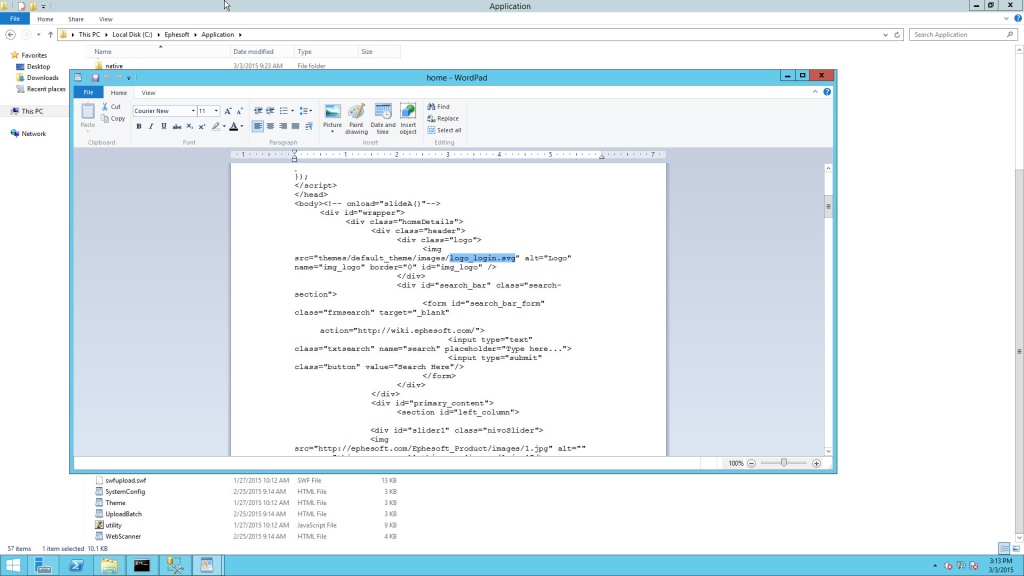
- Replace “logo_login.svg” with the new file name.
- Adjust the width and height properties as needed.
- Save and close the file.
Edit the Login.html File
- Open the home.html file, at [Ephesoft_Directory]\Application.
- Repeat steps 2-5 from home.html above.
Edit the common.css File
- Open the common.css file, at [Ephesoft_Directory]\Application.
- Repeat steps 2-5 from home.html above.