Nuance Form Template Editor allows you to create templates that can be used to extract data using Nuance_Extraction_Plugin present in the Extraction module.
Start the Application
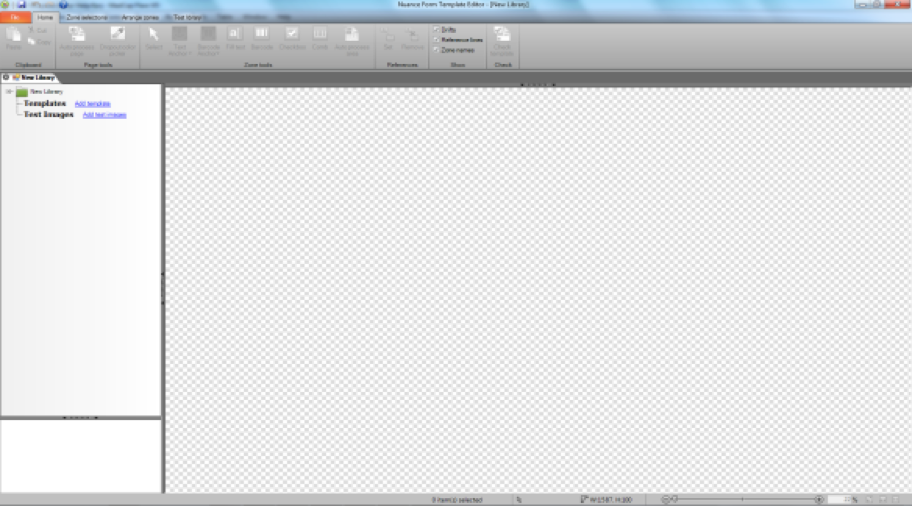
To start the application, launch Form Template Editor Application from the Windows start menu. Alternatively, double-click Template.exe from the installation directory. When you start the Form Template Editor application for the first time, the application displays the following window. The Home tab is selected by default.
By default, an empty library is created. A library is a collection of template files used for form processing. You can add a new template to it.
Adding a Template
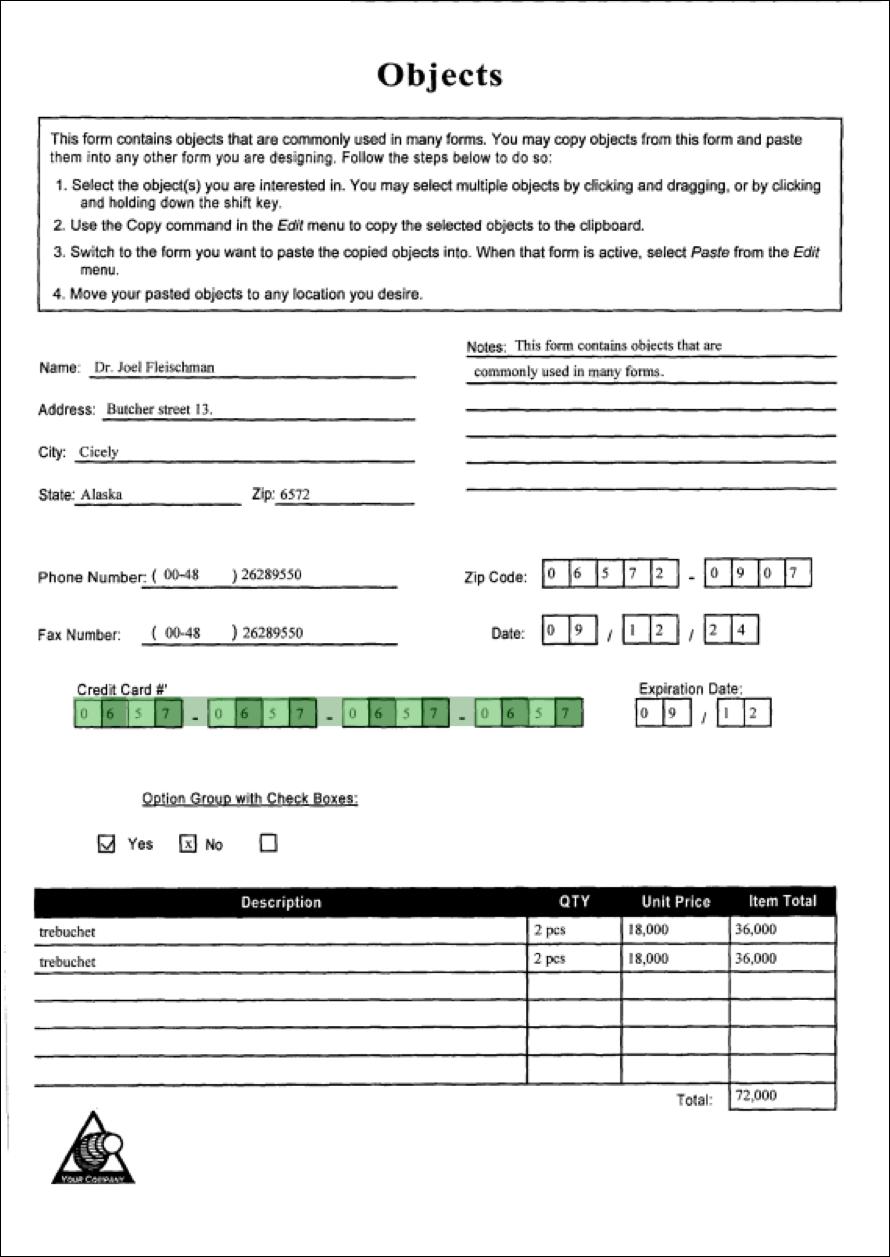
A template is an image on which you define zones for processing. To add a new template to the default library:
1. Click Add template on the New Library tab in the left pane as shown in the image below.
An Open dialog box appears.
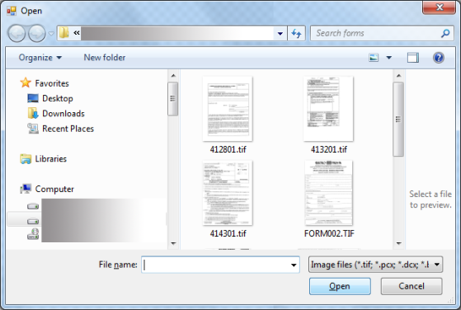
2. Select the form image and click Open.
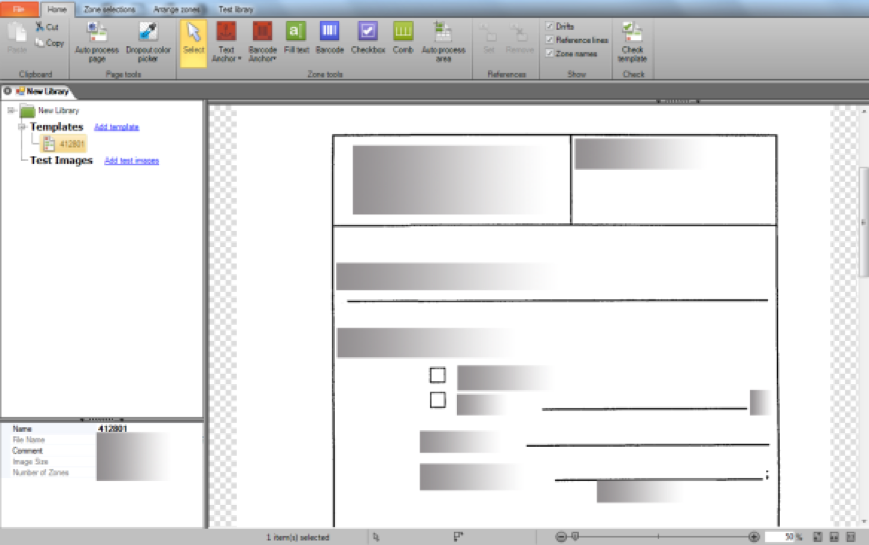
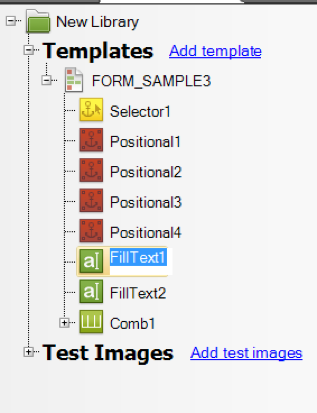
The selected document image opens in the application. The template name is displayed under the Templates tree and the image is displayed in the image panel.
Defining Zones
You must define specific zones for different text types in the form. Zones can be defined by selecting the appropriate tool from the Zone tools section on the Home tab.
Two types of zones are drawn over the image:
- Fill Text Zones
- Anchor Zones
Fill Text Zone
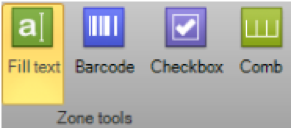
The following fill text zones exist in Form Template:
| Fill Text Zone | Icon | Description |
| Fill text zone | Use it to mark an area as a text zone | |
| Barcode zone | Use it to mark an area as a barcode zone | |
| Checkbox zone | Use it to mark an area as a checkbox zone | |
| Comb zone | Use it to mark an area as a comb zone |
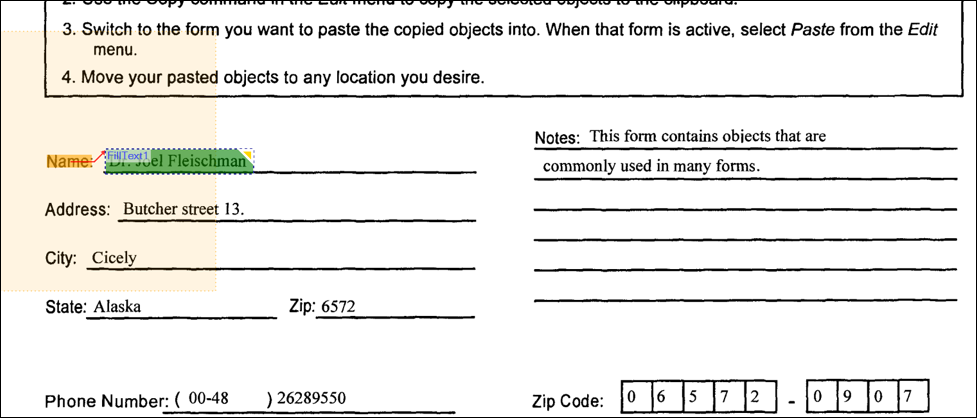
Defining Fill Text Zones
To define a fill text zone:
1. Navigate to the Home tab and select a zone tool:
2. The cursor shape changes to the selected Fill Text icon with a cross-hair in its top-left corner indicating that you can use it to mark an area as a particular type of zone
Anchor zone: Anchor zones are defined by their types and content. Types define what the Anchor zone’s function is in form recognition and template creation. Content determines the actual information sought by the Anchor zone.
Each anchor zone has a reference point. The reference point can be:
- The center of the bounding box.
- The top-left, top-right, bottom-left, or bottom-right corner of the bounding box.
Template selection and template matching happens through anchor zones.
Anchor Types
There are four anchor types in Form Template Editor for text and barcode.
| Anchor | Description |
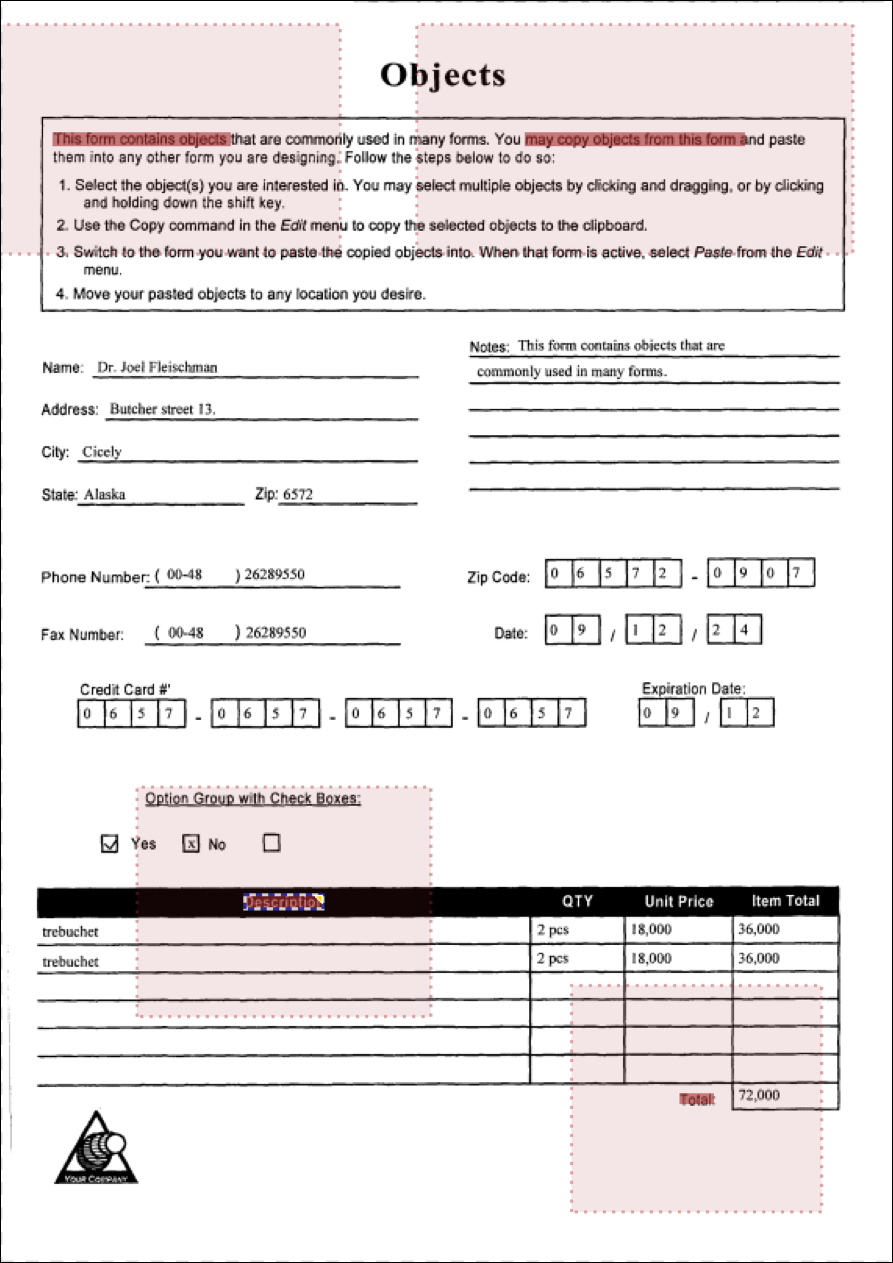
| Positional | Use these anchor zones to align all fill zones on the page or to select the template. Using four anchors is recommended because the images (especially digital camera pictures of documents taken from a steep angle) can get distorted. It is advised to place positional anchors close to the four corners of the page. It is a page-level operation.
It is not mandatory to define positional anchors. Linear distortions (skews, shifts, zoom-ins, zoom-outs) can be corrected with positional anchors. |
| Reference | Use reference anchors (or reference zones) to align the fill zones on the page more precisely. The positional anchor alignment always precedes it. It is a zone-level operation. You can define different reference anchor to each fill zone. The position of the reference anchor assigned determines the position of the fill zone.
It is not mandatory to define reference anchors. If a zone does not have reference anchors, then it is moved to the position calculated based on the positional anchors. Reference anchors must be used when you want to define a fill zone whose position on a page can change, but there is some fixed text on the page in a relatively same position to the zone. It is recommended to choose the static text positioned before or above the zone as a reference anchor. At least, one reference anchor must be defined for one zone. |
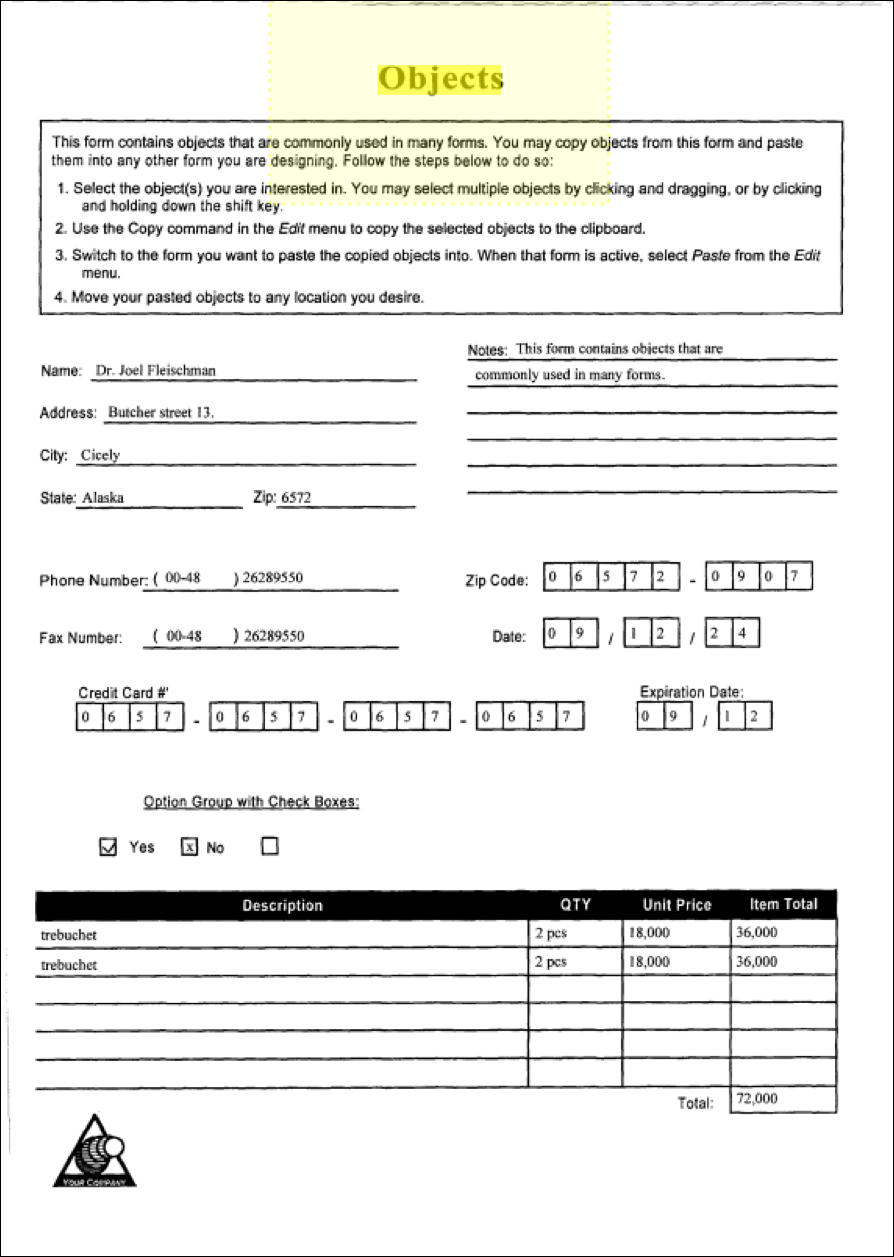
| Selector | Selector anchors are not used in form alignment and positioning. You use them only for selecting the template (whether the template matches the document or not). It is a template-level operation.
It is not mandatory to define selector anchors. You must find some text on the page that is specific only to that particular page (in a certain area of the page). You can define more than one selectors on the page. The best candidates for selector anchors are document titles and document version numbers. |
| Check | Check anchors are used for checking form alignment. Check anchors are not used during template selection and matching. The positions of Check anchors are determined the same way, as that of the fill zones. After positioning, the content is checked and if it does not match with the given content, an error is returned. |
| Ephesoft recommends to draw 4 positional anchors on the corners of the image and at least 1 selector anchor. |
Anchor Content
- Text -The anchor contains static text. It is word based with a bounding box (can be LETTER based for backward compatibility). It can only contain one-line text. It is recommended to choose anchors that consist of at least 4-5 words. Select text that does not resemble any nearby text such as Drift area. The anchor content may contain fixed text or regular expression filter. Text can be positional, reference, selector, and check anchor.
- Barcode – The anchor contains static barcode whose barcode type must be specified. Barcode can be positional, reference, selector, and check anchor.
Defining Text Anchor Zones
To define a text anchor zone:
1. Navigate to the Home tab and select the Text Anchor tool.
The text anchor tool is highlighted and a drop-down list is displayed with the four types of text anchor zones.
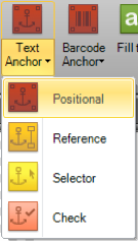
2. Click on a text anchor zone type.
The cursor shape changes to the selected Fill Text Anchor icon with a cross-hair on the top-left corner indicating that you can use it to mark an area as a the selected Zone type.
Defining Barcode Anchor Zones
To define a barcode anchor zone:
1. Navigate to the Home tab and select the Barcode Anchor tool.
The Barcode Anchor tool is highlighted and a dropdown list is displayed with the four types of Barcode anchor zones.
2. Click on a Barcode Anchor zone type.
The cursor shape changes to the selected Fill Barcode Anchor icon with a cross-hair on the top-left corner indicating that you can use it to mark an area as the selected Zone type.
Samples
Following are some samples for zone creation:
- Fill Text Zone
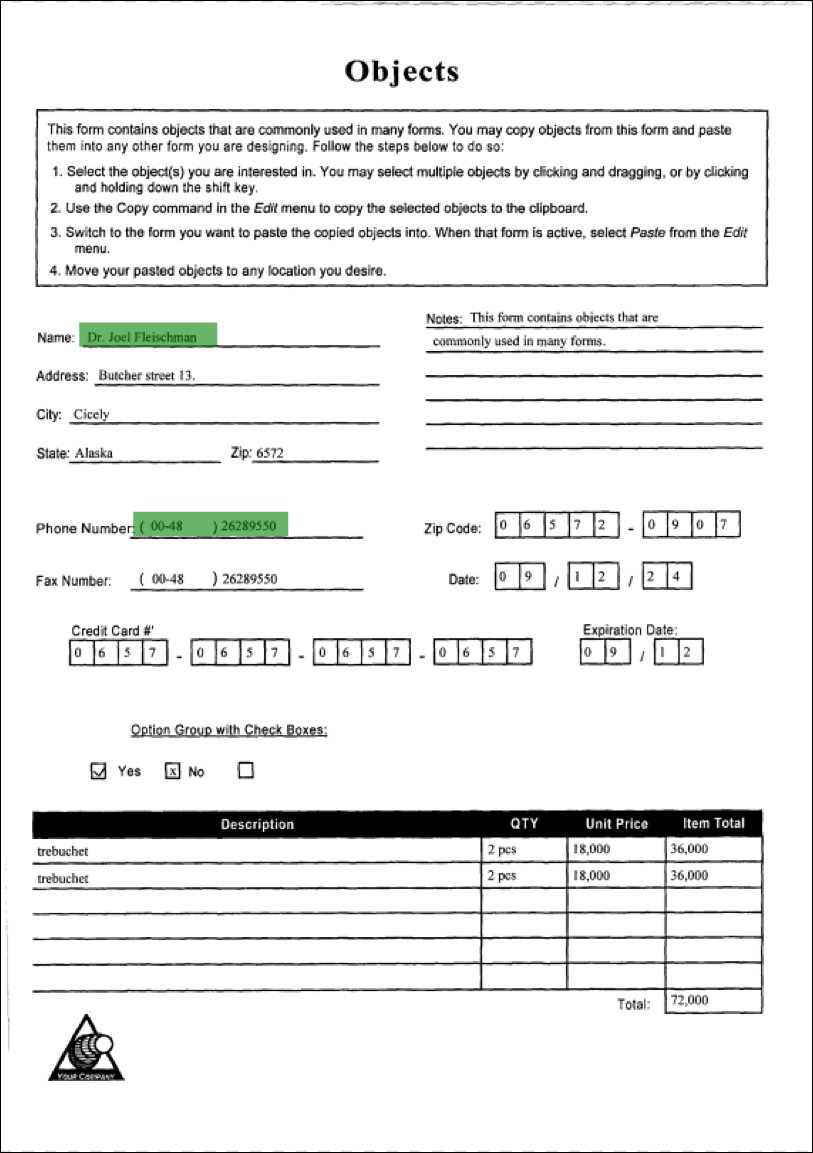
- Check box Zone
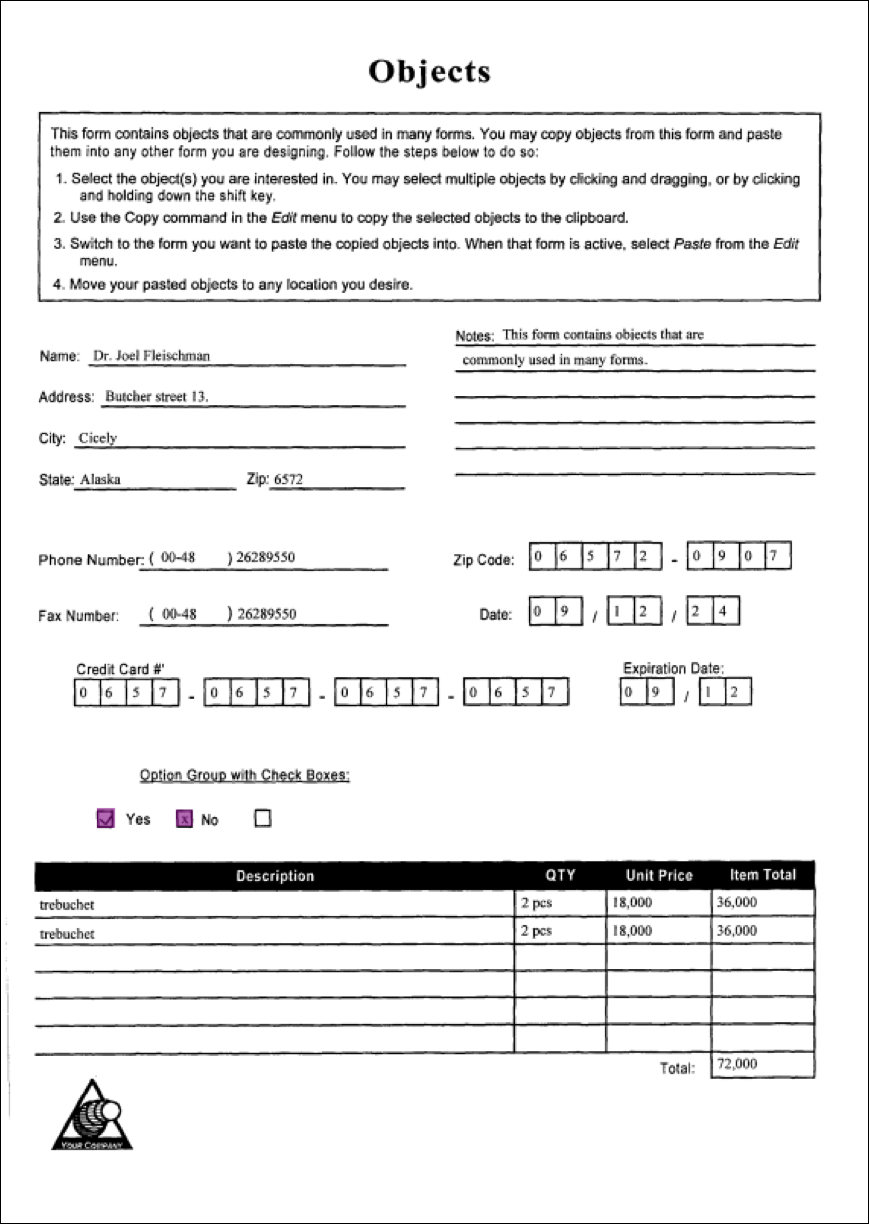
- Combo Zone
- Selector Text Anchor Zone
- Positional Text Anchor Zone
- Reference Text Anchor Zone
Template Constraints & Settings
Following are some constraints for the template created using Nuance Form Template Editor. You must follow these so that the template matches the test images properly and correct data is extracted.
- Proper anchor tags must be specified in the template image.
- The images (most importantly the templates) must be clean and recognizable.
- The DPI should be high so the sizes of the recognizable characters fulfill the constraints described in the link: Recommended height (in pixels) of characters for optimal OCR.
- The DPI of the template and the input files can be different, but the DPI values should be valid. DPI value is considered to be valid when computing the physical size of the page from the number of pixels and the DPI values match the real size of the original document. The size can be computed as the ratio of the number of pixels divided by the DPI value.
While creating the template, you should take care of following:
- You must ensure that the template file adheres to the constraints mentioned above.
- Name of the index field should be mapped with the fill text zone from where data needs to be extracted for that index field.
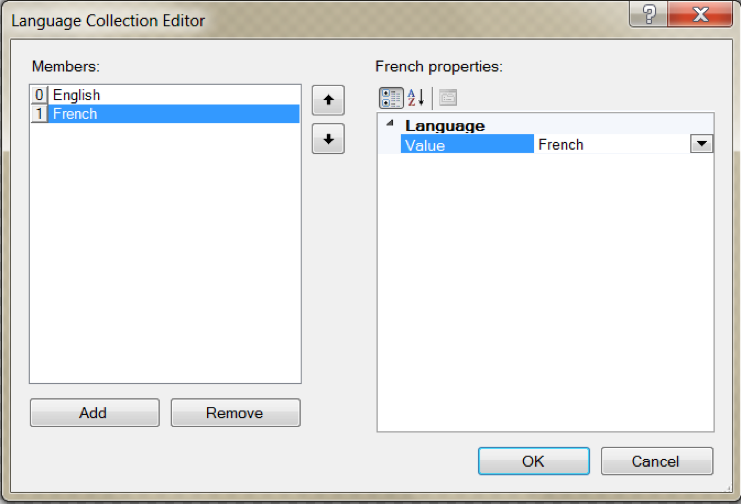
You must specify appropriate Recognition Language in Nuance Form Template Editor for proper data extraction. The default language is English.
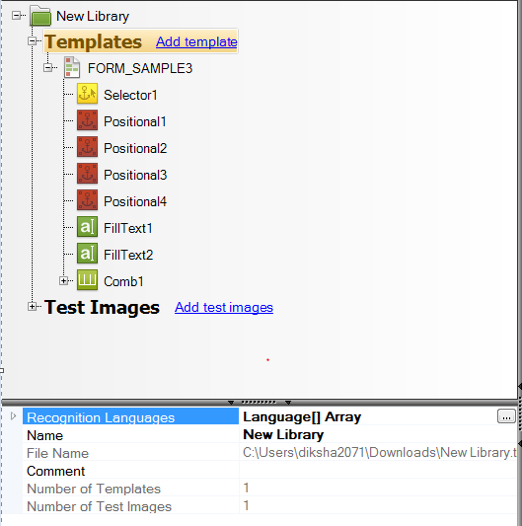
On clicking the ‘Templates’ text under ‘New Library’ displays the following template settings:
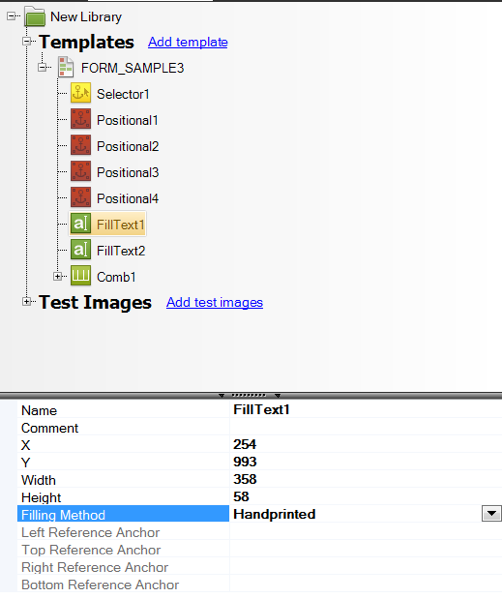
- You must set the Filling Method property to Handprinted in Nuance Form Template Editor in case of hand-written data.
Template Testing
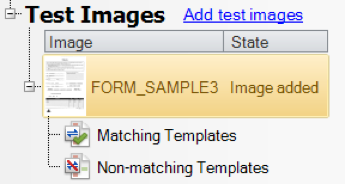
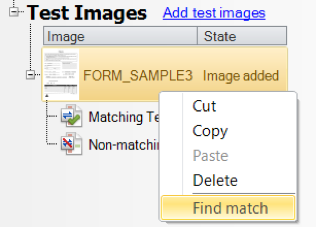
Use Add test images option in the tree view to bring up a Windows file Open dialog box in which you can select from various file format scanned images on your PC to test your template libraries. Select the desired form image and click Open to load the image into Form Template Editor; its state shows Image added and it can be expanded to show an empty list of matching and non-matching templates.
Right-click on the test image thumbnail in the tree-view and click Find match to check if any of the templates in your library matches the test file.
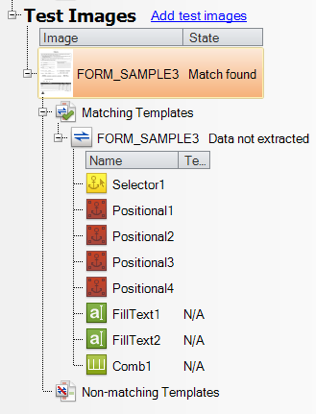
If a matching template is found, Match found is displayed next to the test image name and the Matching templates list displays an expandable list of the matching templates. The zones are also listed under the templates. When you click on the matching template’s name or any of its zones, the matching template image and its zones are displayed. At this stage, zone content listed under Text in the matching template zone list is displayed as N/A.
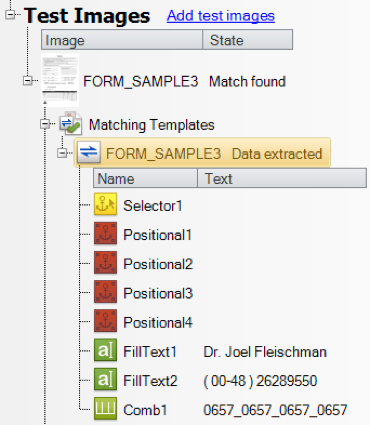
- If there is no matching template library for the test image, No match found is displayed on the item.If you click Extract data, field contents are displayed in the Text column.

Template Checking
To check the template for inconsistencies and other problems, navigate to the Home tab and select the Check template. If there are some errors in the template, then the corresponding errors are displayed.
Saving Template
The template has .tlz extension. Save the created template using Save As option under File Menu
Conclusion
This completes the overview of the Nuance Form Template Editor.